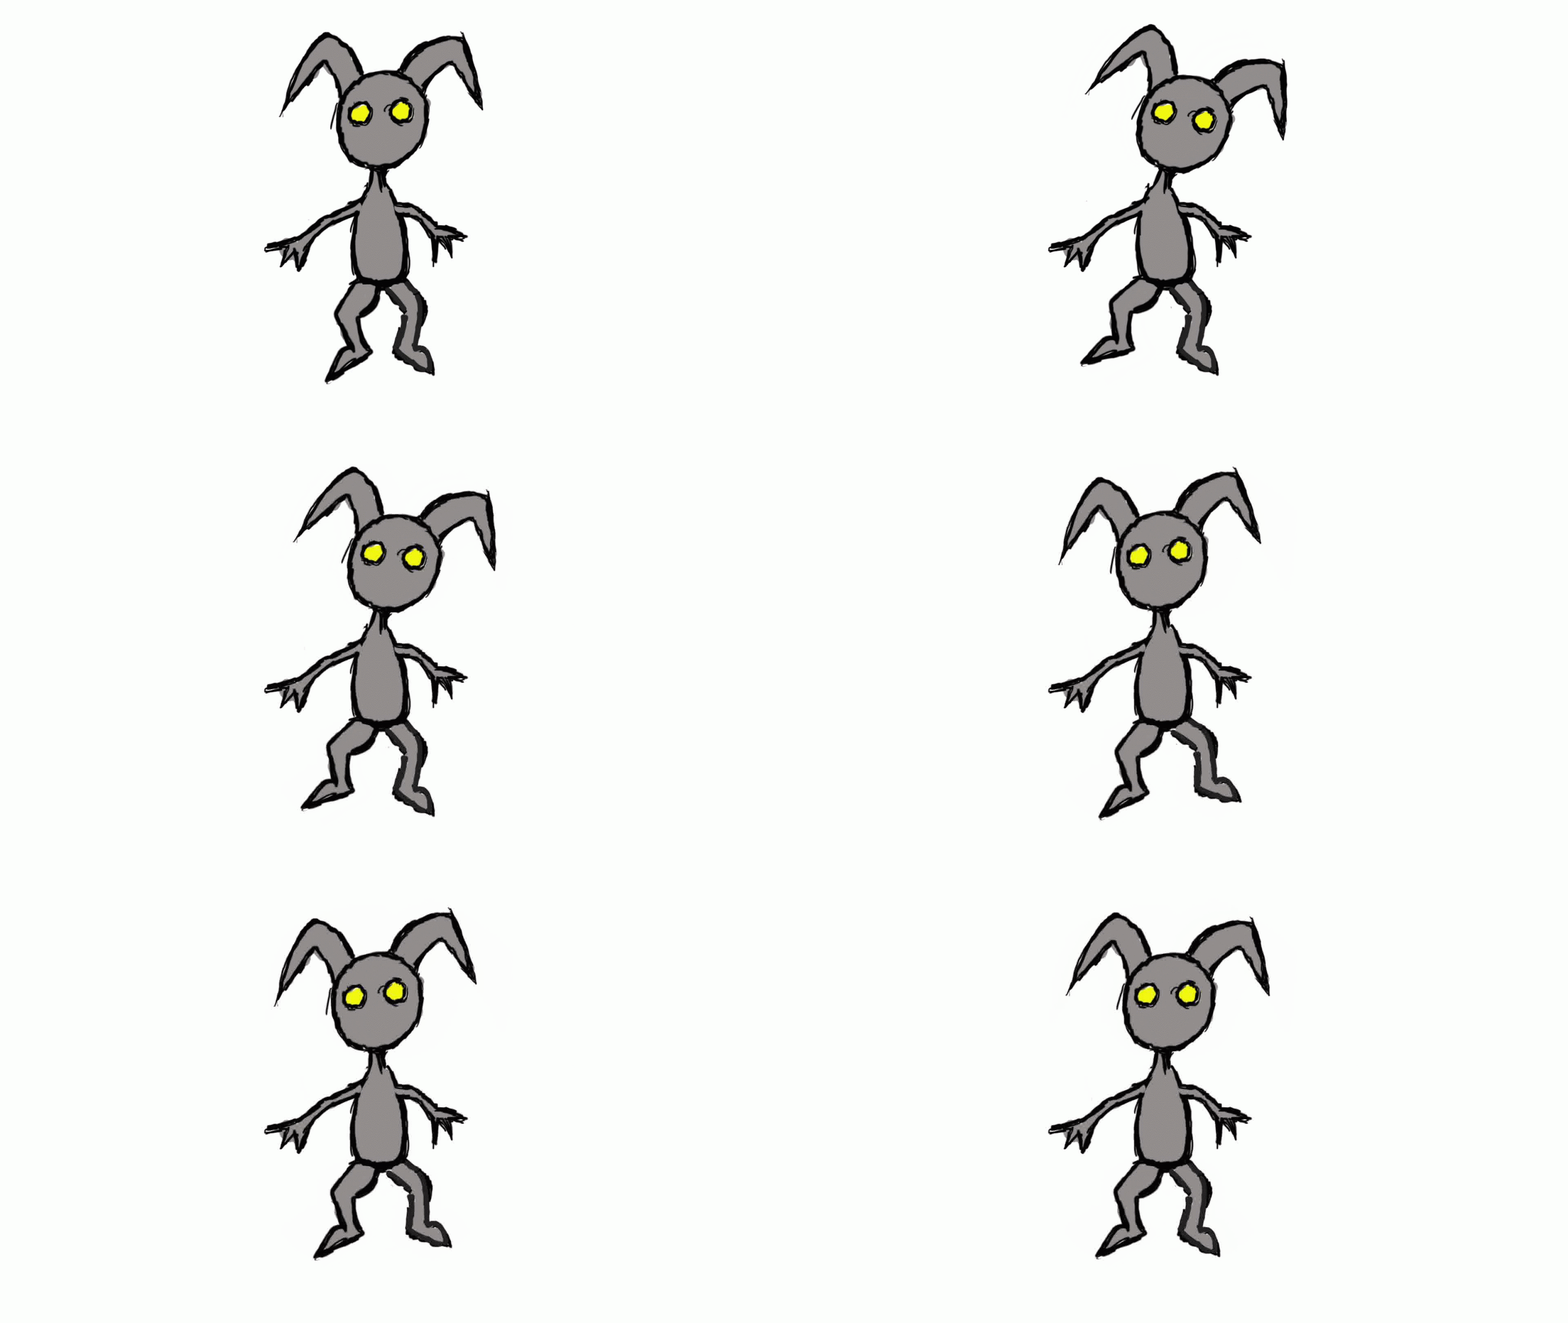
For are fourth session into this Complementary Studies 'Animation' course we learnt the basics of 'After Effects' or more precisely the Pin Tool used to change an image into an animation.
Using the Pin Tool I can add Rotation Points into my images almost like 'Joints' in a human body in which to make the image move as if it were a living creature. We did have to draw up the image in photoshop and separate the limbs, head and torso into there own layers so when moving the image it only moves that section rather than the whole image.
Then selecting the 'Time Bar' so the image moves in the time period I want it to.
Then it's just a case of exporting the animation into a GIF file giving me this.
I then was taught how to use Rotation in 'After Effects' so you can move the image without having to stretch or manipulate the Image. It is very similar to the 'Pin Puppet' using the pins for joints on the character in the Layered parts of the Image.
Using the Drop Down arrow on the pins will show you the grid details of the pin on the Image then clicking the 'Time Bar' again and clicking the stopwatch icon to record what is happening on that pin you can change the angle of rotation to rotate the layers on your image.
I went through my image again adding colour and using rotation technique we just learnt this time to create this exported GIF.


No comments:
Post a Comment